Showing posts with label children. Show all posts

Thursday, February 28, 2013

Word Launch from LeapFrog; Learn letters, spelling and new words!

I bought this game called Word Launch made by LeapFrog at a garage sale for $5. My kids love LeapFrog and it teaches letters and spelling. So I thought, why not? $5 seems cheap. And it was! You can find them on amazon, found here. You might be able to find them on eBay too.
 
I hooked it up to the TV and set everything up. I have a 4 year old and a 2 year old. My eldest is well educated on his letters, but learning sounds and word recognition. My 2 year old is learning his letters. A great balance for the both of them!
 
One thing that I wasn't expecting for them to learn from this game was taking turns. This is SO hard to teach at home. Along with sitting still! You can always tell who has been in preschool when you go to public events and the kids are all sitting "cris-cross-applsauce" and my children are wandering around. And then to have one child go up for an activity and others have to wait in a line and take turns. My kids don't know what to do! I appreciated how this game would tell each player it was their turn.
 
My kids were sick with a stomach bug so we were stuck in the house for about 10 days! We stayed in our pajamas (hence, my little Buzz Lightyear child), watched movies and played games. The game will prompt the child with each letter, and where to put it in the word placement. The spaces are color coded as well (lots of learning going on!). 
 
He said saying "U like Euan!" Aw, love him!

The letters fit into a colored space and each letter has it's own unique code on the back that links with the game. It will tell you if you have the wrong letter or if it's in the wrong space. Also, which each letter the game will also say the sound.

Once the word in complete, hit the big red button and the game does a little victory dance with the word.

 
What a great buy of only $5! SO MUCH learning in this one game. And it kept them busy for over an hour.

Thursday, October 18, 2012

Cat in the Hat Costume Tutorial

I searched on pinterest for costume ideas for the Cat in the Hat. I found a tutorial for the hat, but nothing for the costume. It looked fairly easy though... so I used my favorite costume as inspiration and set off to make a costume.
 
Have I ever mentioned that I can be cheap?! Many put it delicately, and say I tend to be frugal. Whatever the word, I wanted to make these as economically as possible. Using things that I already had or could buy for cheap. I saw costumes at ToysRUs for $30 a piece! And they wouldn't even fit the kids. I used lots of things I already had and bought a few pieces of material and a plain black shirt. I think the total cost of this costume was under $10.
 
Hat
I found a good tutorial on pinterest, which led me here. I changed the color pattern to match the Cat in the Hat book. My son is especially particular on details like that! I couldn't figure out how to attached the hat to the brim. I did something crazy, I'm sure. But it's attached and wearable! On the brim, I cut out a ring that was sandwiched inside the brim. I didn't like how floppy the brim was by itself. I have some mesh plastic canvas (available at the craft store) that I used in a knit hat with a brim. Works great! and it's washable too.
 
Shirt
I didn't have it in me to make a long sleeve shirt. I had plenty of black fabric, but I thought a $3 shirt from WalMart was worth it! I used white felt (from the hat) for the belly. Cut an oval shape for the belly and pin. I did a single stitch around the edge and done. You can probably do a zigzag stitch around the edge too. This will probably launder better.
 
Bow Tie
I'm sorry that I don't have pictures for this part! I did it in parts over the course of a couple of days, sick as a dog, and I just spaced on grabbing some pictures. But here's the jist. I used red felt (from the hat) and free handed a basic bow tie shape. I used the book as a guide. I also free handed the piece of the bow tie hanging down, because I wanted to make that separate and attach it later.
 
I sewed along the outline of my bow tie on 2 pieces of red felt, sandwiching them together. I left one side of the bow tie open so that I could turn the bow tie inside out. Then I did my best attempt of a blind stitch to close it up (felt doesn't iron well). I was being cheap and didn't have red thread, so I used white. I have some parts where the white is showing a little, but it not very noticable. But red thread definitely would have been better!
 
I did the same thing for the piece of the bow tie hanging down, flipped it inside out. I cut out a small strip of the red felt and wrapped it around the center of the bow tie to look like the knot of the bow tie. Hand sew that onto the back of the bow tie. Then hand sew the dangling piece to the back.
 
Hand sew the entire bow to the shirt, and done!
 
Gloves
I think WalMart sells winter knit gloves in the baby section for .99 cents. I can't remember if they had white ones or not... I feel like they did. But Ethan wanted 3-fingered gloves, like the cat. When I looked through the book... sometimes Cat has 3 fingers, sometimes 4, sometimes 5. But Ethan requested 3, so here we go!
 
I had a white t-shirt that my husband let me use for a pair of pants for a different costume. I was able to cut out enough fabric for a pair of gloves too. I outlined another pair of gloves that I already had, just for size guesstimation.

 I pinned 2 pieces of fabric together and cut it out with a thumb, and 2 fingers together on the top. Often in the book, Cat looks like he has a thumb, 3 middle fingers together, and a pinky. But I thought that would be uncomfortable and difficult to put on.

Fold the bottom hem of the gloves twice and sew.

Sew the outline of the glove. Try on for size, and adjust sizing as needed. I needed to sew closer on the fingers. Trim the excess fabric. Get especially close on the inside on the fingers.

Flip inside out, and gloves are done! Not form fitting, but good for show.
 
 
Pants
I used a template here for how to make pants out of an old t-shirt. There isn't a real tutorial on it. Basically you cut out the legs, sew the inner seam (where the crotch is). Then sew each leg shut. Sew an elastic band on the waist and hem the bottom. Pants done!
 
I had to think of a way to have a tail, but still have it comfortable. We plan on going to a couple harvesty events, and I didn't want his tail bothering him while in his car seat. I decided to make it detachable with a button. Sew a button on the back of the pants on the waist band. He doesn't seem bothered by the button. Then you can attach the tail for show.
 
Now buying a $3 pair of Granimal pants from WalMart would have been much easier! But I wanted plain, black pants. Everything has a design or stripe down the side. This wasn't that hard, and made from an old t-shirt.
 
Tail
 

Sew 2 pieces of fabric together, with a rounded end for the tail. This will make a tube. Flip it inside out and stuff it with poly fil.
 
I found out the hard way that the fabric I had on hand would leak of fuzzy pieces of poly fil. So I took all the stuffing out, and put a plastic inside the tail, and then re-stuffed the tail. It's a crunchy-sounding tail now. Oh well! And it doesn't have white fuzz seaping out anymore.
 
Leave the opening of the tail without poly fil. You can do a blind stitch to close it up. I just did a single stitch with the edges folded in to make for a nice seam. His shirts hang over, so you can't really see the stitching anyway. Then sew a button hole to attach the tail to the back of the pants.


Chronicles of Unconventional Naps

I've captured my kids in some comical situations. But Euan... this kid falls asleep in the most unconventional places and positions. It's brought me many laughs, so I thought I'd share them with you!
 
As a newborn, he had to be held all the time! And often fell asleep from the constand motion. I later discovered the wonderful joy of a wrap! We were a baby wearing couple.
 
I know I am breaking the rules here, having the bumbo on the table (shriek!). But it was a big table! I think Euan is around 4 months here. I was making dinner. 

This is actually a picture of my nephew. He is also guilty of falling asleep EVERYWHERE! 


On a road trip back to Washington, the kids were knocked out! Euan was asleep sitting next to me. Ethan, my niece, and nephew were in the back. I love a quiet van.
 
I was making dinner again, and here he goes. He's not even wearing pants! Good thing his cloth diaper is fashionable :)

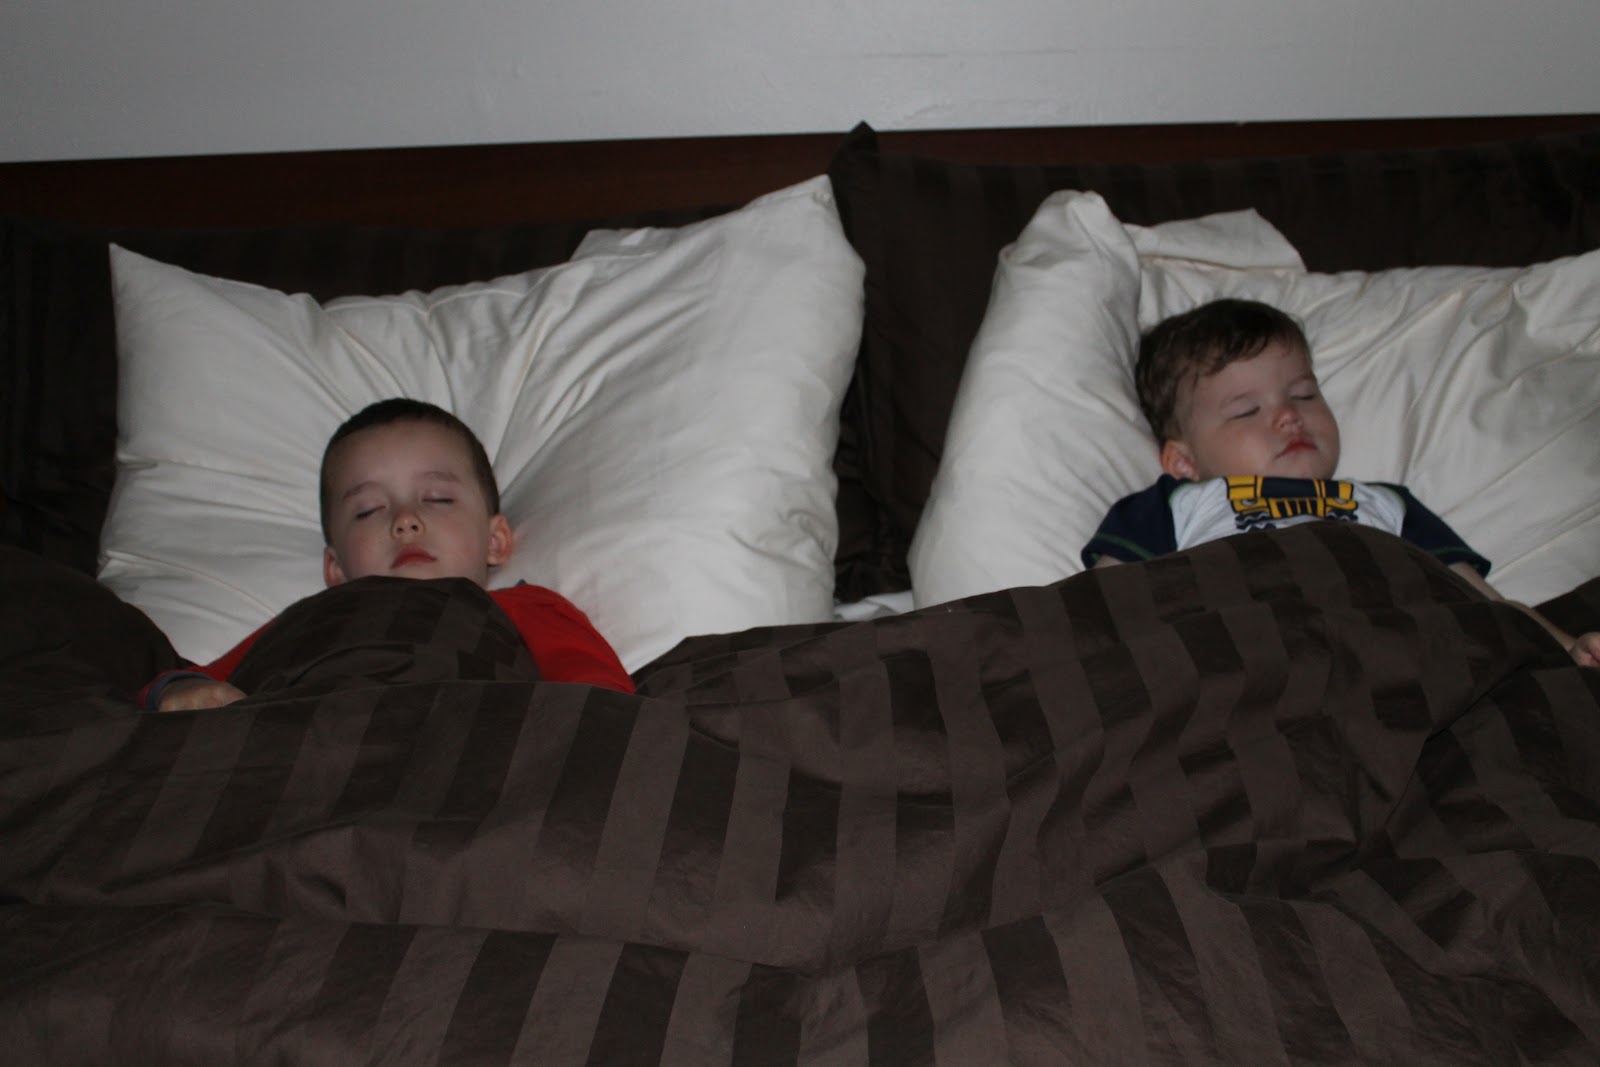
2 boys miss their naps, and this is what happens at 6:30 pm. And both boys where moved to their beds without being disturbed and slept through the night!
 
Yet another missed nap time led to a tired boy on the couch.

The close up is just so precious!


This is one of my favorites. What was Euan doing? He was in a time out. Crying and screaming his eyes out because he wasn't getting his way. Apparently, his blanket was laying on the floor nearby. I thought he calmed down and stopped crying. Well... not exactly. He had cried himself into a coma!


Utilizing Letter Tiles

My local library has kits for kids. The kits are organized by theme and include books, visual aids, videos, activity books, etc. I think it was a farm theme kit that had a book with an activity book about animals and counting. Theme-o-saurus I think the book is called? The library has copies and I've picked some up for free at book sales.
 
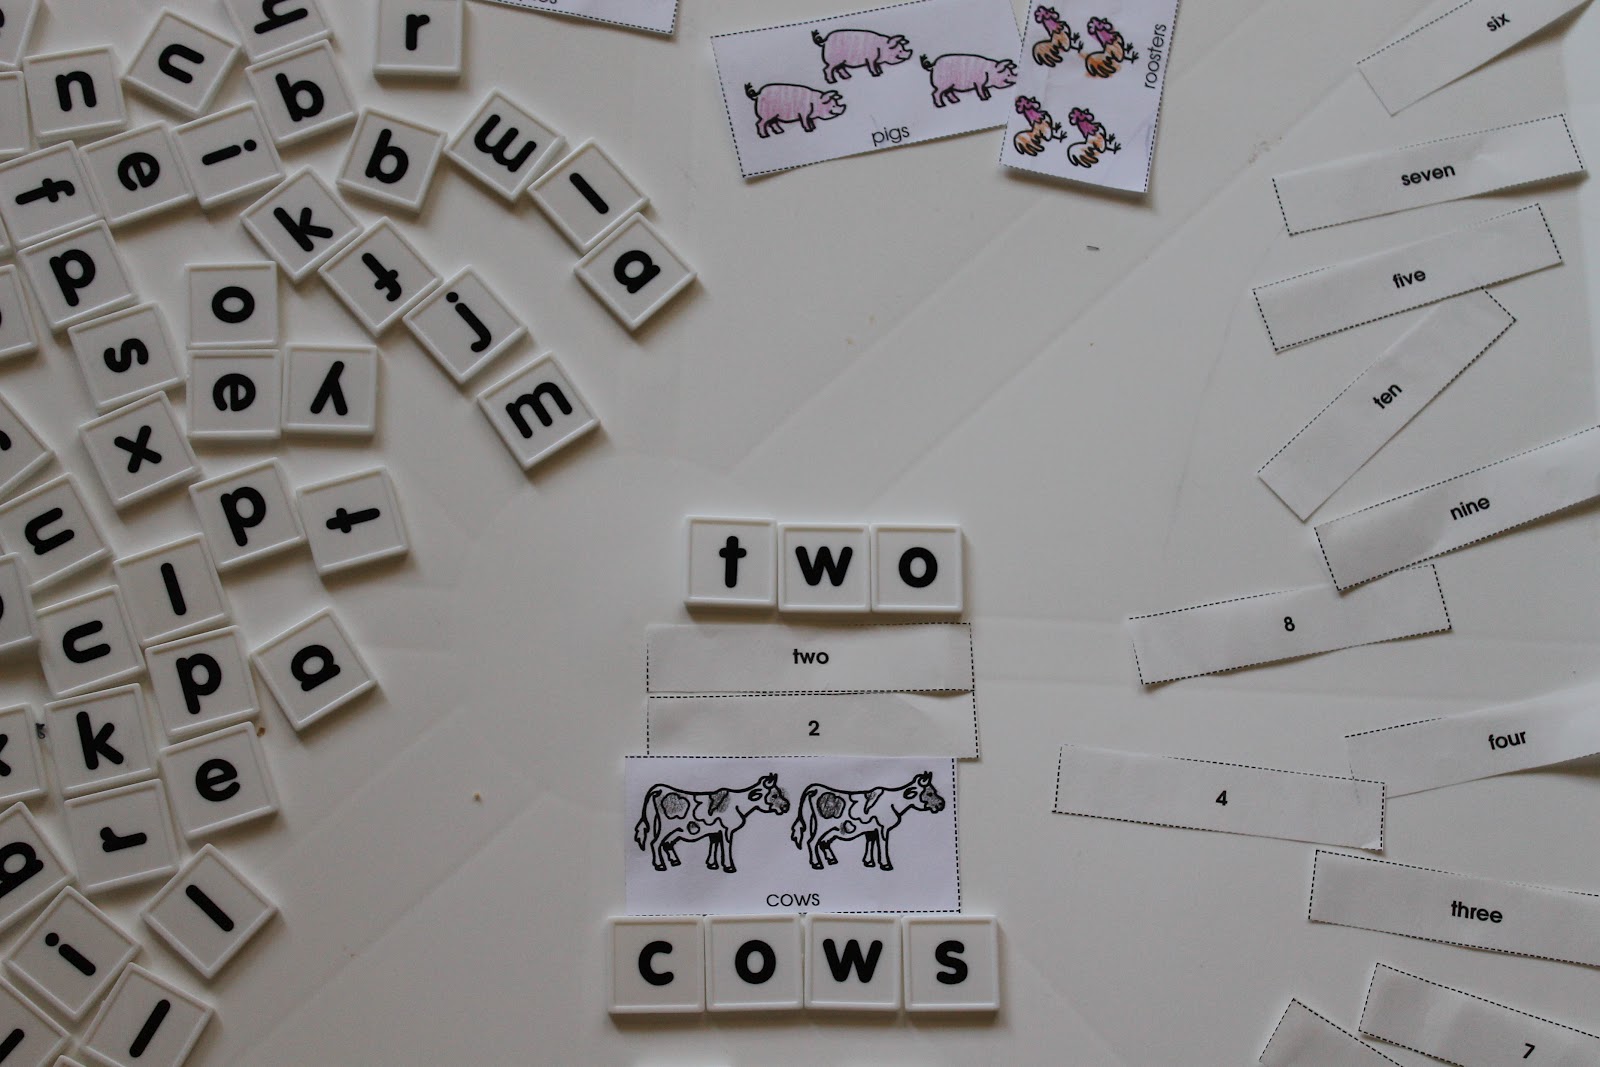
SO! I flip through and make copies of ideas and activites I like. This one was about matching and counting. There's a cut out with animals and their name, another cut out with the numeral, and yet another cut out with the number written out. At this point, Ethan was becoming very interested in letters. I decided to take this activity a step further and have him find letters and spell out all the animal names and numbers.
 
 
I had a bucket of letter tiles from my mother-in-law. She has an awesome collection that she's passed on to me!

 
(Don't mind his hat and PJs!) We first found the matches of animals and numbers, then found the matching letters.

 
Here's the result! We didn't have enough tiles to do all the animals and numbers 1-10. However, we did 1-5, then started over for 6-10. This activity took a couple of hours. And it was strongly child-led. It took more encouragement towards the end, but I really wanted him to finish. He was so proud of himself! And that was home-made homeschooling. How fun!

Tuesday, September 25, 2012

Spider-Man Re-Purposed Lawn Chair

I bought this kids lawn chair at a garage sale for $1. I usually see them in the store for about $5.99-$9.99. It's Superman, someone that my kids don't really know. But I thought for a buck, it will be nice to have an extra chair outside when we have friends over. Turns out, I bought some Spider-Man stickers for a birthday banner and I was going to have a ton of stickers left over. Thus, light bulb! The chair was already red, so I decided to take something old, and make something new!

 
I traced the shape of the cut out on the back of the chair. Then I cut it out, fitting the paper as closely as I could to cover up the image. I put a few Spider-Man stickers on the paper and took the paper outside.

Clear, non-glare/glossy contact paper has many uses! I cut out a shape slightly bigger than my traced shape. I peeled the backing off and put the picture on the sticky paper, Spider-Man side down. Then I trimmed the edges to about a 1/4 inch.
 
I use this adhesive for scrapbooking. It can be pricey, but I always have a 40% coupon! I sprayed the back of the paper outside. Line it up and press down... Voila! A Spider-Man lawn chair. 


Monday, February 6, 2012

Shadow Puppets

The library has a monthly Born Learning event where families come and play. The theme this month was shadows. Luckily, we had just played in the dark with flashlights a few days before. So Ethan was very excited! One of the stations was a make your own shadow puppet. Ethan chose a train (pink!) and a dolphin. Euan got 2 different dinosaurs. Taped to popcicles, and we got some shadow puppets!
This inspired me to use my newest birthday gift, my Cricut! A part of me wants to use the Cricut as much as possible so I can justify how much it costed! I filtered through the templetes and found images that were easily recognizable by shadow only. And Voila! The first my Cricut creations!

Wednesday, December 28, 2011

Elmo Quilt


I made 2 quilts for Christmas, one for each of my boys. It was my first quilting project. The only thing I am disappointed in is that I didn't flatten and smooth the fabric and batting enough when pinning. So there was a little bunching here and there. Nothing noticable to the average person, but frustrating for perfectionist me!
Euan loves 2 things right now. Cows and "Melmo"! I couldn't find any Elmo only fabric, and I really wanted a life size Elmo blanket. I drew a 3 foot sized Elmo on the red fabric with pencil, using googled images as my inspiration. I used a triple stitch setting (for boldness) and followed my pencil lines. This was Elmo's basic shape. Some lines went jagged, some went a stitch too far, but this totally worked for me. Elmo is fuzzy, so it looked perfect!
I cut out other colored fabric for the eyes, nose and mouth and did an applique technique. But after being washed, Elmo's eyes bled through a little and are now a faded red. Maybe for future projects, double up on the white and prewash the red fabric.
I am so proud of my quilt, even with the mishaps. I was pleasantly surprised with how adorable Elmo turned out! It's better than I had planned!

Cars Quilt


A Christmas present for Ethan. My first attempt at making a quilt. I got the basic instructions here. However.... I did the traditional binding, tedious hand stitiching! I bought the fabric for the front, and used an unused Cars flat sheet for the backing. It wasn't complete by Christmas, just the binding left to complete. But I wrapped it up anyway and finsihed it the next day. Ethan loves it!

Friday, December 23, 2011

Cow Shirt

I decided that since I made a shirt for Ethan, I should make one for Euie too. The first thing he really connected with was cows. When the Chick-fil-A opened in town, we went to the grand opening and got a picture with the cow. Euan just feel in love with him! His first words were mama, dada and cow! I free handed a clip art cow and came up with a cute little saying with his name. I used the freezer and fabric paint technique (instructions on dino shirt post here).