Since we've tried to eat more real food, many canned items have disappeared from our pantry. Not only is the homemade version better in calories, ingredients and processing... it's delicious! I usually make half of this recipe. Sometimes the recipe I am preparing for only needs yet another half of that. So I can freeze some of it. I guess if you were to logically measure that out, you should be able to get the equivalent of 4 cans of condensed soup out of this recipe. You can always measure 10 oz and freeze them in bags so they're ready to go!
Whenever I make a chicken, I remove all the meat, chop it up and freeze it. Then I use the bones to make chicken stock. For this recipe, I pull out some chicken from the freezer. You can poach some chicken or use leftovers from a rotisserie or something too!
Prepare or have ready 2 cups of chopped/shredded chicken
1/2 stick of butter
1/2 cup flour
2 cups chicken broth
1 1/2 cups milk
Fresh lemon juice
Salt and pepper
Nutmeg
Melt butter in saucepan over medium-low heat
Whisk in flour and cook for 1 minute, whisking constantly
Add broth and whisk until smooth
Add milk and increase heat to bring to a simmer, whisking constantly
Cook for 1 minute then add chicken
Bring to simmer and cook 1 minute more
Remove from heat and add lemon juice, salt and pepper and ground nutmeg to taste.
Showing posts with label homemade. Show all posts
Showing posts with label homemade. Show all posts
Wednesday, October 9, 2013

Thursday, February 28, 2013
Leap Pad Case


In the age of technology, kids are so tech savvy at such a young age! Every time we went into the toy section at the store, our oldest son would gravitate towards the Leap Pad (which looks just like an iPad), and he knew EXACTLY how to navigate it! I checked out the games that came with it. Many of them were educational. So we got him a Leap Pad for his 4th birthday.
At first, we got him just one game. Then for Christmas, we bought him a second game. Then we had a problem, what did we do with the little game cartridge when it wasn't in use? It looks like a memory card, and I didn't want it to get stepped on, lost or damaged. I looked up carrying cases online and they were SO expensive (for my taste anyway).
I searched pinterest (LOVE!) for some kind of homemade case and found a tutorial, found here. I was able to use fabric and velcro that I had left over from a blanket I made from a friend. The fabric called for interfacing, and I was like "huh?". But I had some upholstery fabric that I used in placed of it. That was a mistake! It ended up being so thick and stiff. And there'ss many layers to sew through and lots of flipping inside out of fabric. Batting would have sufficed, or a few layers of scrap fabric. The only thing I had to buy was a zipper, .99 cents!
This turned out adorable! It's the perfect size for his Leap Pad and has a pocket in the front to store his games. Perfect for traveling and storing everything!
Valentine's Cards for Kids

I always call myself cheap, but my friends affectionately call me frugal. Whatever you want to call it, it's caused me to be very creative and crafty. I don't like to waste anything, and I especially dislike spedning money on things that are so disposible.
Valentine's day was coming up, and we didn't have any big plans. The kids especially enjoy storytime at the library and they were having a Valentine's day party. Ms. Sherrie suggested bringing cards if we wanted. I thought, "no, I really don't want to go and buy cards for like 4 or 5 friends and throw the rest away". Plus, I didn't want to have to make a special trip to the store to buy them.
Cricut to the rescue! I let the kids pick out their own characters to put on their Valentine's. I looked up some cute Valentine's day phrases and used scrap cardstock that I had in my stash. I have a thick pad of paper for my own scrapbooking endevors, plus all the paper for my etsy store (which can be found here).
Ethan picked the zebra (which HAD to have the flower because that's the way it was in the picture!) And Euan picked the penguin :)
Crochet Headphone Covers

SO!!! Last year we went on a trip and took the DVD player for the kids. At some point we looked back and the foam pieces of the headphone covers were missing. Looked at my 2 year old, and the evidence was in his mouth! He ate them! This was our 3rd pair of "cheap" headphones for the kids, and they are NOT cheap! $5 a pop. They get lost, stepped on, etc. But I was not about to replace these AGAIN!
Searched for some covers to buy or make, and voila! Found these on ravelry.com (my favorite knit and crochet site for patterns!). Was able to make these with some yarn I had on hand and just in time for us to go on vacation. Original pattern by Jennifer Ofenstein, and found on her blog here.
The Very Hungry Caterpillar Quilt

Baby #3 is going to be The Very Hungry Caterpillar theme. I first saw this nursey theme in Pottery Barn and fell in love! But $200 for a quilt?! Yikes! Plus, you need sheets, bumper, decor, etc. Ugh. The boys have twin quilt madras quilt from Pottery Barn and I love them! But they are going to use them for a long time, not just as a toddler. So it was worth spending more. Plus, my mom bought them for birthday presents :)
Andover Fabrics sells Eric Carle fabric. But I wasn't able to find it in local stores or from the manufacturer. Back to etsy! I had to price shop (searched eBay too). I wasn't able to find all the fabrics that I wanted from the same seller, so I had to buy them seperately. But depending on what kinds of fabrics you want, you can save on shipping by buying from the same seller.
The border and backing I got from a local fabric store. They had a very cute green Eric Carle fabric I thought about getting for the backing, but thought I had spent enough! So I got a cute earthy green that I thought would do well as the backing.

I did diagonal stitching for the quilting, but didn't like how much it was bunching. And I didn't want to regret the way it looked. Had to use the seam ripper (which took a couple hours!) and removed the quilt from the machine after each line, smoothed everything out, repinned and sewed another line. It took longer, but was much flatter.
I also wanted to do a blind hand stitch on the binding. This also took a couple of hours, but it looks so much better than top stitching the binding. And I didn't have a blind stich options with my machine. I always forget how to do the machine binding and mitering, but finally found this video on youtube, found here. Machine stitch the binding to the quilt, then flip and press and hand stitch the other side. She talks about how to machine stitch the other side as well. I like to have a continuous border on the binding, and always forget how to do the corners. This video is great!
I love this quilt and have a crib bumper in the works as well! I spent about $50 on the fabric, had batting on hand and about 10 hours of labor (some of that was fixing mistakes!). I even tried looking on etsy to see if I could find quilts for under $200. Not easy, but there were some available. I just had a certain quilt in mind, and thought I could do it for cheaper!
The Very Hungry Caterpillar Burp Cloths

Got a dozen regular cloth diapers from CottonBabies to use as burp cloths, found here. These are $1.75 each and they ship for free! Retail stores often sell cloth diapers too, like BabiesRUs, WalMart and Target. They are Gerber brand. I've heard that they work well as burp cloths, but I know the ones from CottonBabies are diaper service quality and SUPER SOFT! And they are actually cheaper than the gerber ones! You can buy as many or as little as you need.
Bought some caterpillar ribbon off of etsy and sewed it to each end. I did 13" strips, folded and tucked in the ends of the ribbon, and did a top stitch around the ribbon edges. They turned out so cute and will be perfect for new baby!
This would make a great gift too! I bought an extra 3 diapers and am going to make personalized diapers for a friend. I think she'll love them!
Wednesday, September 26, 2012
Chick-fil-A Birthday Card

Happy 1st birthday to our local Chick-fil-A. Bring in a birthday card, get a free sandwich. Had the cutest cow image on the Cricut, and was able to use a bubble to make a cute saying. We all signed the back, and it's still hanging in the office at the store :) I guess they liked it too... But maybe they're biased! Ha!
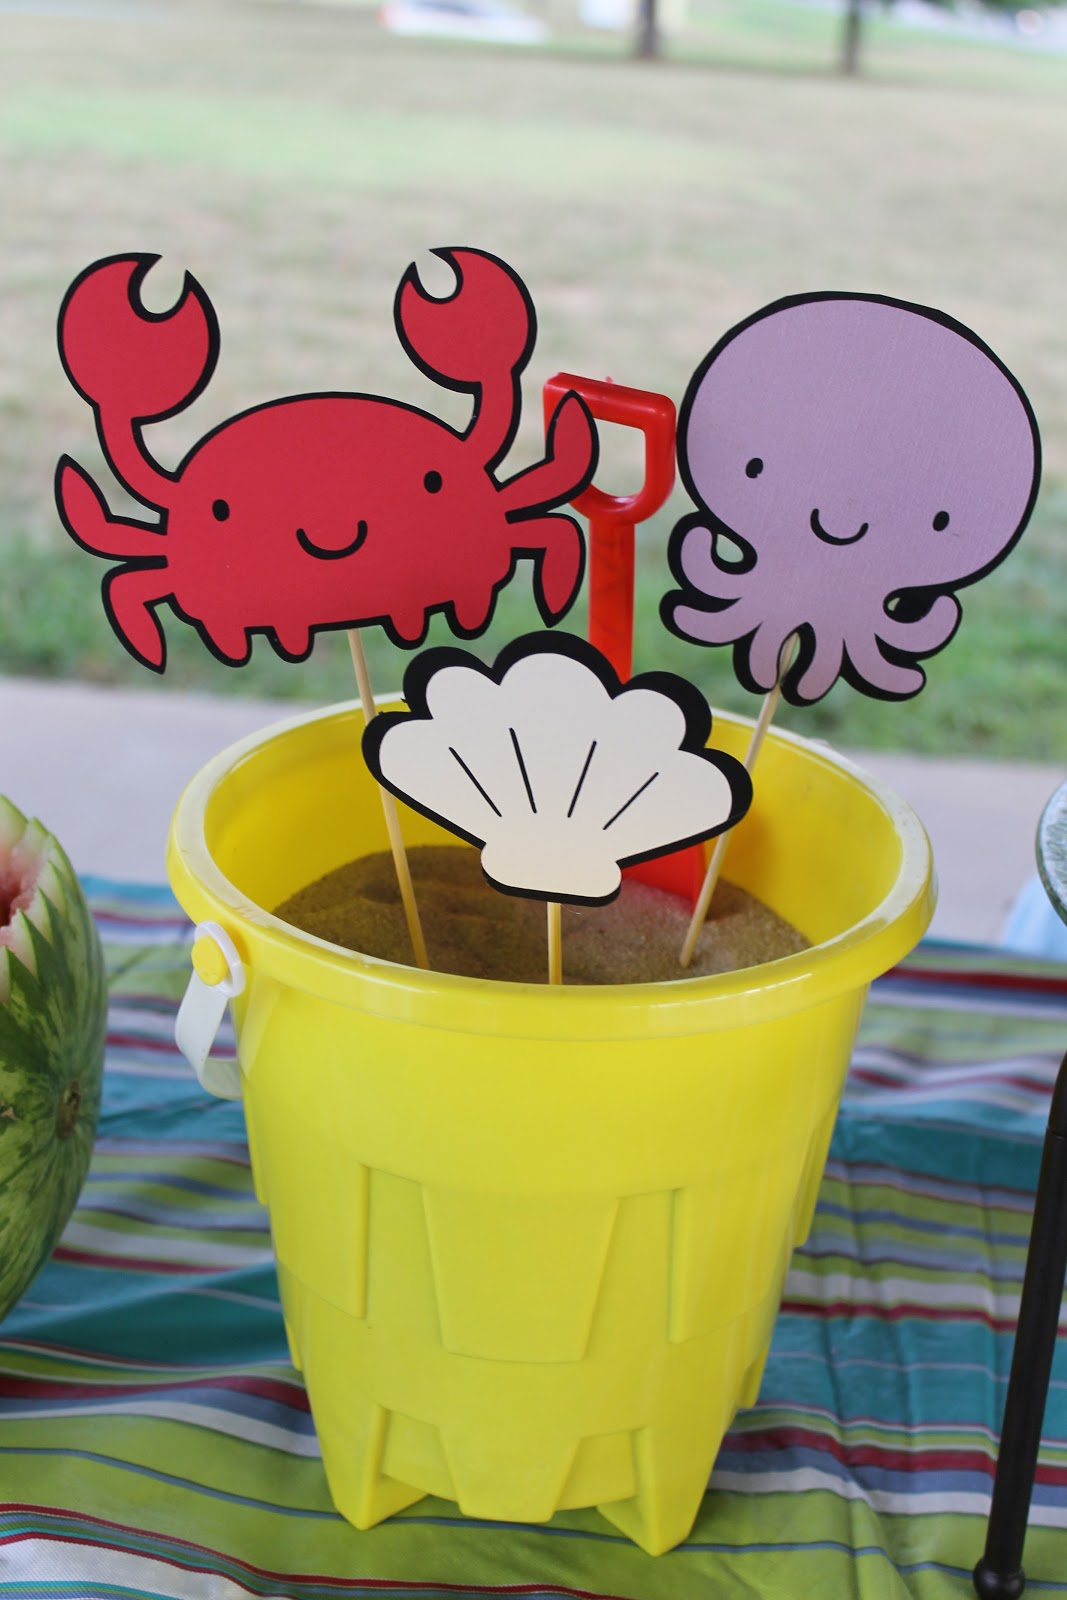
Beachy Centerpieces
One of my mom groups was doing a kick-off with games and food. Our theme was "Plunge" so I made some beach-theme centerpieces.
It didn't cost me anything either! I already had the pails and shovels from the mom group. Got the sand from my boys' sandbox, used BBQ wooden skewers I had in the drawer, and paper from my scrapbook stash. Used the Cricut to make cute sea creatures. I thought they turned out adorable!


Tuesday, September 25, 2012
Pesto Recipe
Pesto Recipe
2 cups loosely packed basil leaves
1/2 cup grated parmesan cheese
1/3 cup pine nuts (found in the baking section or in produce with salad toppings)
2 cloves garlic
1/2 olive oil
salt and pepper
1. Combine basil, cheese, pine nuts and peeled/crushed garlic in a food processor and process into a rough paste.
2. With the machine running, slowly add olive oil to desired consistancy. It should be a thick paste.
3. Season with salt and pepper.
Can be refrigerated for a week or frozen for up to 3 months (but I've frozen for much longer in the deep freeze).
Our family LOVES pesto! It can be pretty expensive though. So I made sure to plant lots of basil in the garden this year. I started them in newspaper starters, here. They germinated well and flourished in the garden. Basil loves hot weather, so we were very lucky!

I had 4 plants that resembled bushes!

I used scissors to clip the leaves off all 4 plants. My colander runneth over!

I prepare the recipe and freeze them in baggies, about 1/2 cup per bag (that's how much our family consumes in one meal, but you can bag as much or as little as you want!). I pull a bag out the day before I want to use it and homemade pesto is what's for dinner!
I have lots of freezer recipes and tips here.
Monday, September 24, 2012
Spider-Man Cake and Birthday

Ethan is 4! And he picked Spider-Man theme about 3 months ago :) I made a double layaer white cake with strawberry filling (his favorite fruit!) and strawberry ice cream. I made the quick icing and added food coloring for icing and piping. I got the figurine from the Dollar Tree!

Made a banner (of course!)

3 handsome masked boys!

Happy Birthday Spider-Ethan
Thursday, July 12, 2012
Photo Alphabet

This has been a project in the making for months! I saw it in a Costco Connection magazine. I bought alaphabet stencils and traced them onto poster board. I picked photos that would be a good display through the letters (the space needle, the gateway arch, scenic photos from our vacations, etc). I used a craft blade (like an Xacto knife) to cut out the letters and backed each letter with a different photo.
Sunday, July 8, 2012
Chick-fil-A Shirt

Chick-fil-A had a Cow Appreciation day coming up. Anyone can come in wearing their best cow attire and receive a free chicken sandwich. If you come in dressed from head to toe in cow pride, you get a free meal!
My youngest son fell in love with cows when my husband first started at Chick-fil-A. So I made him a cow shirt, seen here. We always like to participate in fun activites, especially when something FREE is involved! So I needed to make a cow shirt for my older son. Same technique, fabric paint and freezer paper. The tutorial is found here.
I created a template in Word. I tried to find a font that looked similar to the Chick-fil-A signs. The font I used was Half Darm BTN. For the heart, I used webdings (shift and y). I used white fabric paint for the lettering. For some reason, Hobby Lobby was out of red fabric paint. So I used the puff paints and spread it out with a paint brush. It was a little harder to remove the freezer paper. I used my blade to gently cut the paper away. I would definitely recommend fabric paint though, I didn't like how it turned out as much.

Saturday, June 9, 2012
John Deere Themed Birthday Banner

I finally put my Cricut to good use! My sister-in-law always finds the cutest personalized things for her son. Last year, he had an Elmo birthday party. And when I saw the decorations, I thought to my crafty-self, "I could so make that!" She told me they were hand made and bought on etsy.com. I got a Cricut for my birthday (Yay!) and couldn't wait to make something. With only a few weeks until Euan's second birthday, I still hadn't thought of a theme! During a play date at the park, a lawn mower went by and Euan got so excited. He loves lawn mowers! He likes to ride on them with daddy, or have daddy hook up the trailer or wagon and ride around. And it clicked! John Deere birthday! I fould a cartridge for the Cricut on eBay, got themed paper and ribbon on sale at Hobby Lobby and I was ready. Everything turned out absolutely adorable! I think I am going to start my own esty.com business :)
(And I did! My Handmade Workshop. Find it here)

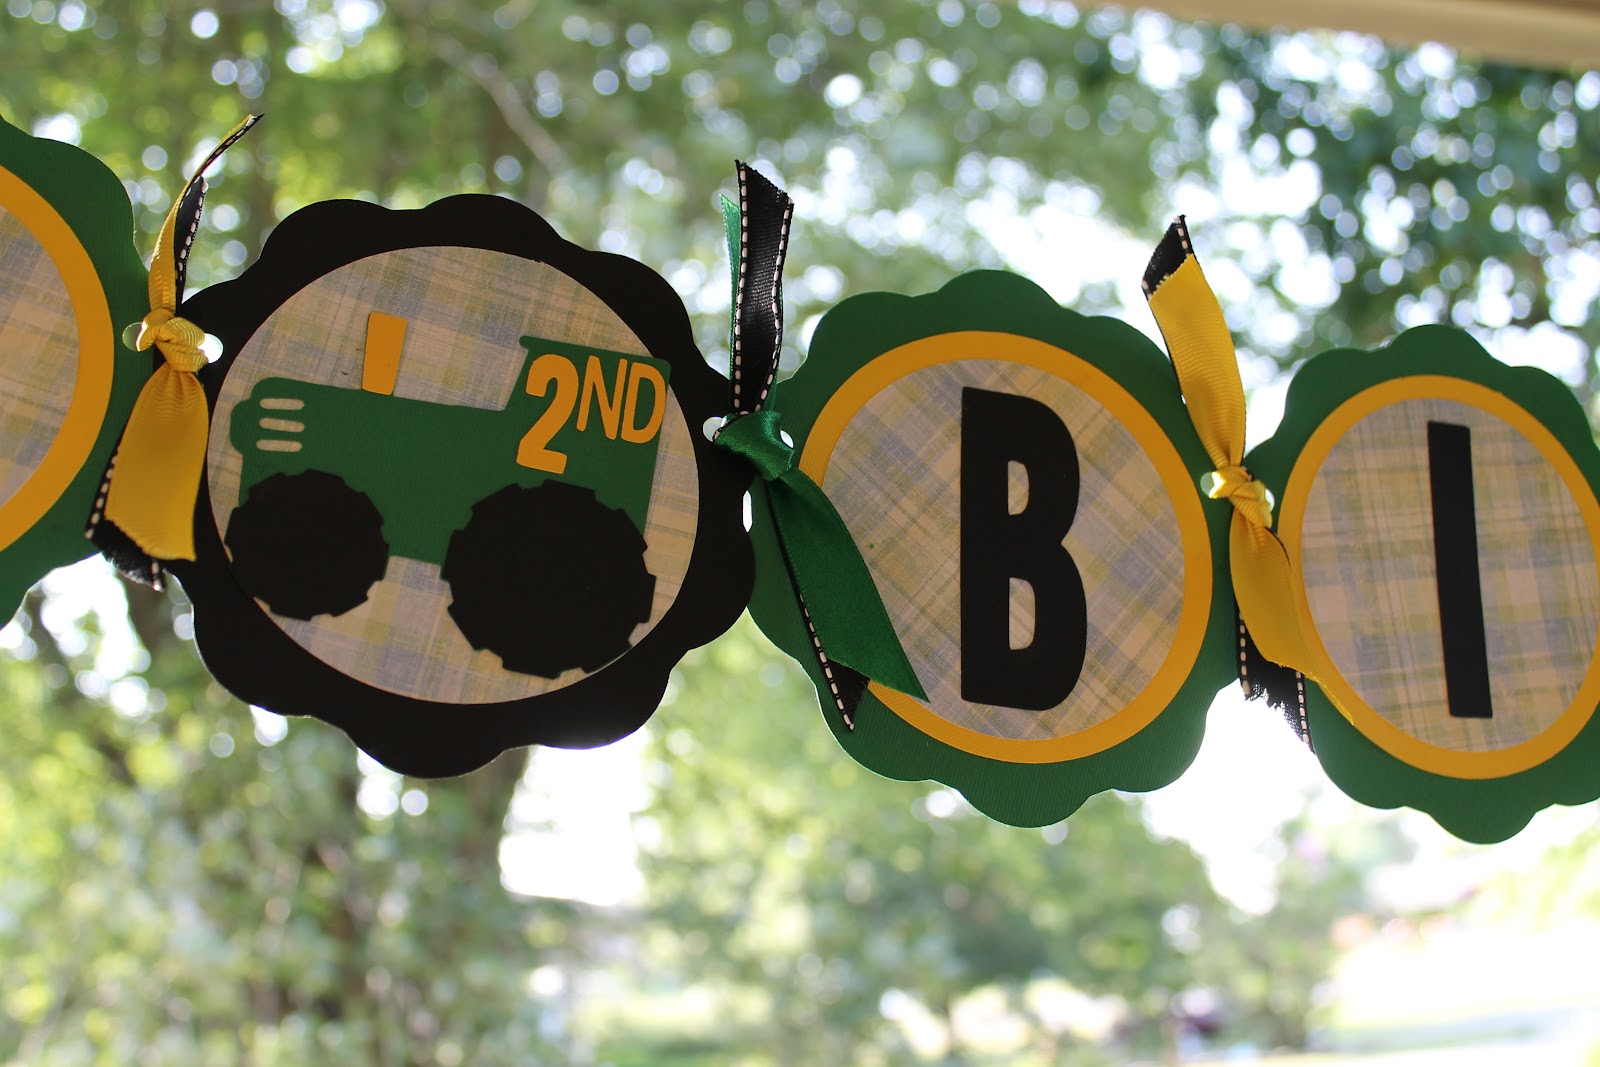
Happy Birthday Euan!

Double Layer John Deere Cake

You can see the top of the cake here.
John Deere Birthday Cake

Euan had a John Deere themed birthday for his 2nd birthday. I bought a cake topper set off eBay for $9. It's an actual John Deere tractor rolling toy, which was a bonus! Except, I later bought Euan a couple of John Deere sets and probably could have used those for the cake. Oh well.... the trees and fence added something to the cake!
I made the 4 Yolk Gold double layer cake recipe from the Joy of Cooking cookbook. Before I filled the layer pans, I divided the batter into 2 bowls and colored one with green dye and the other with yellow dye. You can see what the inside looks like here.
I was going to filled with the whipped ganache recipe, but didn't realize that it needed to be refrigerated for several hours, and the party was later that night! So I used store bought whipped chocolate icing for the filling and the "dirt". The rest of the cake is iced with the Quick Icing recipe, dyed green for the grass and border, and yellow of the font piping. I used a little bit too much butter in the green icing. The result was a more runny icing... BOO! It still tasted delicious!
Tuesday, April 10, 2012
Newspaper Seed Starters
 I saw this and thought it was an awesome and cheap way to start seeds. I have SO MANY newspaper from couponing and thought this was a cool way to re-use them. Although, it only used like 4 sheets :) It will break down in the garden when transplanted.
Here is the tutorial I followed: http://www.instructables.com/id/Biodegradable-Seed-Starters-From-Newspaper-anothe/
I used old cereal boxes to hold the starters and lined with saran wrap to try and keep the cardboard from getting wet. (I was being super cheap, this was a free starter!). I see some moldy spots... yikes! But just on the paper, so not too worried about it. I think I would try a waterproof container next time, just didn't have anything lying around that would fit on my window sill.
The tomatoes did great! Basil did well, as well as some of the other herbs. Some didn't germinate at all. I did have Ethan plant the seeds :) So I will do another starter set soon.
I want to try making seed blocks next time. No need for paper=no mold. I can get the plastic clam shells from my husband's work (hopefully!). Here's where to find that tutorial: http://www.instructables.com/id/Make-Super-Cheap-Seed-Starters/http://www.swagbucks.com/?t=w&q=&p=1&b=1
Monday, March 26, 2012
Happy Birthay to Matthan!

In the spirit of being frugal and healthy, my husband requested a carrot cake for his birthday (hence the orange piping). Cake recipe from Joy for Cooking cookbook (my cooking sidekick), quick frosting recipe, and I finally broke down and spent $3 on a piping bag and tips. A friend of mine said ziploc bags work too. Just snip the corner. (I do this when I make devilled eggs).
I halfed the recipe given below, was still about to make 2 thinnger layer and had tons of leftovers after feeding the 4 of us! It turned out great. A little lopsided, not so perfect piping... but it was DELICIOUS! And I was so proud of it.
Carrot Cake
Two 9 inch round layers, two 8 inch square layers, or one 9x13 cake
Have ingredients at room temperature. Pre-heat oven to 350 degrees. Grease and flour your pans.
Whisk together thoroughly in large bowl:
1 1/3 cups all purpose flour
1 cup sugar
1 1/2 teaspoon baking soda
1 teaspoon baking powder
1 teaspoon ground cinnamon
1/2 teaspoon ground cloves
1/2 teaspoon grated/ground nutmeg
1/2 teaspoon ground all spice
1/2 teaspoon salt
Whisk together well in small bowl, then, using rubber spatula, stir into flour mixture until just combined:
2/3 vegetable/canola oil
3 large eggs..
Stir in:
1 1/2 cups shredded carrots
1 cup chopped walnuts
(1 cup golden raisins)
(1/2 cup canned crushed pineapple, lightly drained)
Scrape batter into the pans and spread evenly. Bake until fork comes out clean, 25-30 minutes in small pans, 30-35 minutes in large pan. Let cool on a rack.
Quick White Icing
Makes about 2 cups
Combine in a medium bowl and beat together on medium speed:
4 cups (1 pound) confectioners' sugar, sifted
1/2 cup (1 stick) unsalted butter, softened
Add and beat until smooth:
4-6 tablespoons milk or coffee
2 teaspoons vanilla
1/4 teaspoon salt
Icing should be spreadable, but firm enough to hold it's shape when piped. Add sugar/liquid to achieve correct consistancy. Keeps 3 days at room tempertaure, 3 weeks in fridge, 6 months in freezer. Spoon a little bit into a bowl and add some food coloring for piping.
Thursday, February 9, 2012
All Purpose Cleaner
I got this recipe from a Green Convention. I got a big Home Depot spray bottle with this recipe. It broke before the solution was used up. Get bottles at WalMart for a buck! Half the recipe if you have a smaller spray bottle.
30 oz. water
4 Tablespoons vinegar
2 teaspoons borax
(10 drops fragrance)
I haven't used this recipe in a long time, because I never had borax around. I just mixed equal parts water and vinegar, it works great! Vinegar has some disinfecting properties and also kills nasty smells. I use vinegar for lots of household needs. I just made a batch of laundry detergent, so I am going to start making this recipe again since I have borax on hand. But if you don't have it, vinegar and water is fine. It costs just pennies to make. I used to buy 409 all purpose cleaner, haven't bought a bottle in 3 years.
30 oz. water
4 Tablespoons vinegar
2 teaspoons borax
(10 drops fragrance)
I haven't used this recipe in a long time, because I never had borax around. I just mixed equal parts water and vinegar, it works great! Vinegar has some disinfecting properties and also kills nasty smells. I use vinegar for lots of household needs. I just made a batch of laundry detergent, so I am going to start making this recipe again since I have borax on hand. But if you don't have it, vinegar and water is fine. It costs just pennies to make. I used to buy 409 all purpose cleaner, haven't bought a bottle in 3 years.
Tuesday, February 7, 2012
Baby Food
My first son had hardly any store bought baby food. Mostly because I was really cheap!
I just cooked down veggies (carrots, peas, green beans) or fruits (apples, pears), blended with a little bit of water, and froze them in ice cube trays. Easy! Ice cube trays are great. I popped themout and stored them in gallon size ziploc baggies, labeled; carrots, peas, etc. That way I could as many or little as needed. (I also do this same system with homemade chicken stock!)
I sometimes added a little more water and rice cereal. With canned fruits, I just mashed them up and served. It's super cheap to make baby food. A friend of mine owns a restaurant and she made her son all kinds of gourmet baby food. There are such great books out there too. I've gotten great recipes from books for toddlers that have become some of my favorite meals for the entire family!
I just cooked down veggies (carrots, peas, green beans) or fruits (apples, pears), blended with a little bit of water, and froze them in ice cube trays. Easy! Ice cube trays are great. I popped themout and stored them in gallon size ziploc baggies, labeled; carrots, peas, etc. That way I could as many or little as needed. (I also do this same system with homemade chicken stock!)
I sometimes added a little more water and rice cereal. With canned fruits, I just mashed them up and served. It's super cheap to make baby food. A friend of mine owns a restaurant and she made her son all kinds of gourmet baby food. There are such great books out there too. I've gotten great recipes from books for toddlers that have become some of my favorite meals for the entire family!
Adjustable Toddler Belt

Have you ever had a pair of infant or toddler pants that were just a little too loose? My first son is thin. When he was a toddler, his waist size in pants was smaller than his pant length. So I put a belt on him for a while. What a pain to take off every time he needed a diaper change. Then I discovered the adjustable waist pant. Hallelujah! But these can be hard to find in infant sizes (24 months and smaller). So he wore athletic pants for a long time! Good ole elastic pants!
My second son is.... not so thin. :) He is built like a tree trunk, round and solid! With the added bulk of a cloth diaper, now I run into the opposite problem. He needs larger pants in the waist, but they are still a little too loose.
My sister-in-law had the same problem with pants staying on her son too. She introduced me to the Dapper Snapper. It's an adjustable toddler belt that snaps in the back, so you never have to worry about taking it off during diaper changes. I thought it was a great invention! Created by a mom, of course! And they come in all different colors to either match an outfit or add flare.
I really didn't want to spend $10 per belt. So I made my own version of one. It's a simple concept. But I've never attached snaps before, and I went through almost a whole package before I figured out how to use the tools and attach them correctly. Typically I could make about 4 belts with one package of snaps (at $2.59 per package, plus my 40% off coupon because I'm cheap). I already had the black elastic on hand. But I did check the elastic out to see if I could get a navy for jeans and tan for khakis. Unfortunately I only found black and white elastic in my local craft stores. More colors are probably available online.

I didn't measure anything, which is strange for me... the perfectionist! I just placed the first outtie snap and then fitted them on the jeans to the tension I liked, and placed the rest of the snaps. I used a youtube video as a reference on how to attach snaps, and of course now I can't find it! The problem I had was putting the innie snaps on backwards, or hammering until the metal was crooked. I seriously had no idea how to attach these things! The innie piece with the side that feels raised up is the side that gets hammered against the prongs.
Subscribe to:
Posts (Atom)