Showing posts with label birthday. Show all posts

Wednesday, September 26, 2012

Chick-fil-A Birthday Card

 
Happy 1st birthday to our local Chick-fil-A. Bring in a birthday card, get a free sandwich. Had the cutest cow image on the Cricut, and was able to use a bubble to make a cute saying. We all signed the back, and it's still hanging in the office at the store :) I guess they liked it too... But maybe they're biased! Ha!

Beachy Centerpieces

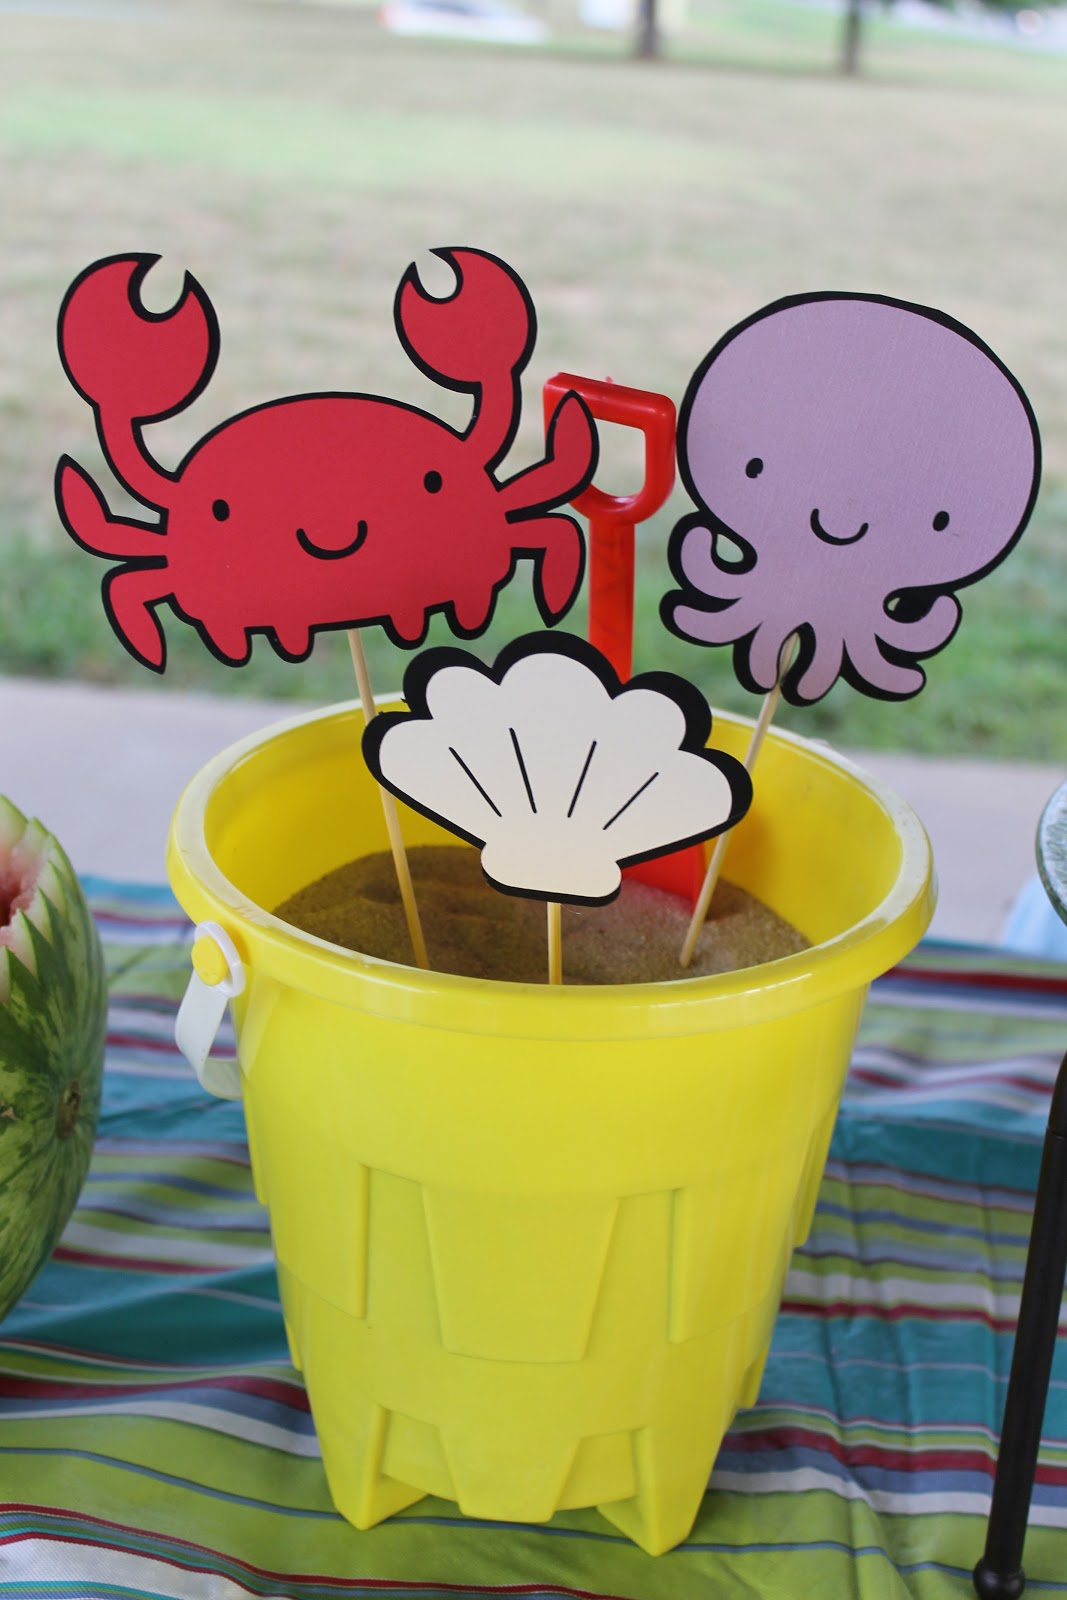
One of my mom groups was doing a kick-off with games and food. Our theme was "Plunge" so I made some beach-theme centerpieces.
 
It didn't cost me anything either! I already had the pails and shovels from the mom group. Got the sand from my boys' sandbox, used BBQ wooden skewers I had in the drawer, and paper from my scrapbook stash. Used the Cricut to make cute sea creatures. I thought they turned out adorable!


Monday, September 24, 2012

Spider-Man Cake and Birthday


Ethan is 4! And he picked Spider-Man theme about 3 months ago :) I made a double layaer white cake with strawberry filling (his favorite fruit!) and strawberry ice cream. I made the quick icing and added food coloring for icing and piping. I got the figurine from the Dollar Tree!


Made a banner (of course!)
 
3 handsome masked boys!
 
Happy Birthday Spider-Ethan
 

Saturday, June 9, 2012

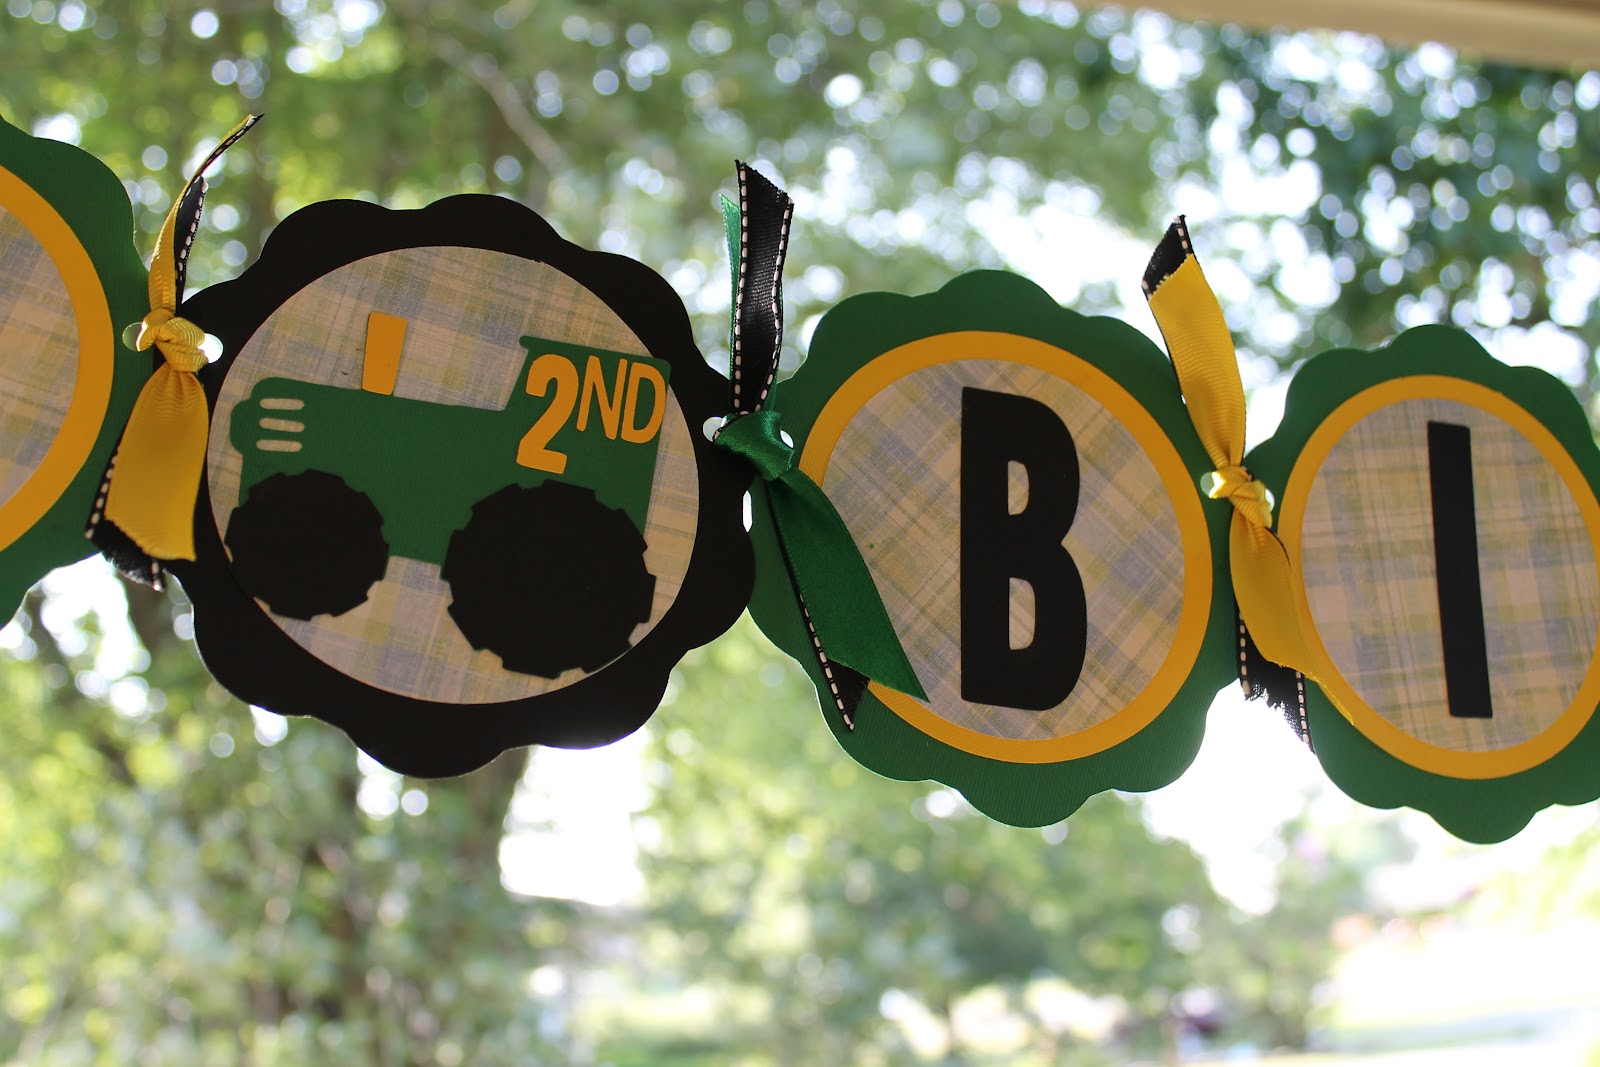
John Deere Themed Birthday Banner


I finally put my Cricut to good use! My sister-in-law always finds the cutest personalized things for her son. Last year, he had an Elmo birthday party. And when I saw the decorations, I thought to my crafty-self, "I could so make that!" She told me they were hand made and bought on etsy.com. I got a Cricut for my birthday (Yay!) and couldn't wait to make something. With only a few weeks until Euan's second birthday, I still hadn't thought of a theme! During a play date at the park, a lawn mower went by and Euan got so excited. He loves lawn mowers! He likes to ride on them with daddy, or have daddy hook up the trailer or wagon and ride around. And it clicked! John Deere birthday! I fould a cartridge for the Cricut on eBay, got themed paper and ribbon on sale at Hobby Lobby and I was ready. Everything turned out absolutely adorable! I think I am going to start my own esty.com business :)
 
(And I did! My Handmade Workshop. Find it here)


Happy Birthday Euan!


Double Layer John Deere Cake


Double layer cake in John Deere colors! Right before I poured the batter into the layer pans, I separated them into 2 bowls and added green to one bowl and yellow to the other. Filled with chocolate icing. It had been at room temp. for a while, and the green icing had a little too much butter... so the cake looks like it's melting! Oops! But it still tasted yummy and was so festive. Loved it!

You can see the top of the cake here.

John Deere Birthday Cake


Euan had a John Deere themed birthday for his 2nd birthday. I bought a cake topper set off eBay for $9. It's an actual John Deere tractor rolling toy, which was a bonus! Except, I later bought Euan a couple of John Deere sets and probably could have used those for the cake. Oh well.... the trees and fence added something to the cake!

I made the 4 Yolk Gold double layer cake recipe from the Joy of Cooking cookbook. Before I filled the layer pans, I divided the batter into 2 bowls and colored one with green dye and the other with yellow dye. You can see what the inside looks like here.

I was going to filled with the whipped ganache recipe, but didn't realize that it needed to be refrigerated for several hours, and the party was later that night! So I used store bought whipped chocolate icing for the filling and the "dirt".  The rest of the cake is iced with the Quick Icing recipe, dyed green for the grass and border, and yellow of the font piping. I used a little bit too much butter in the green icing. The result was a more runny icing... BOO! It still tasted delicious!

Monday, March 26, 2012

Happy Birthay to Matthan!


In the spirit of being frugal and healthy, my husband requested a carrot cake for his birthday (hence the orange piping). Cake recipe from Joy for Cooking cookbook (my cooking sidekick), quick frosting recipe, and I finally broke down and spent $3 on a piping bag and tips. A friend of mine said ziploc bags work too. Just snip the corner. (I do this when I make devilled eggs).

I halfed the recipe given below, was still about to make 2 thinnger layer and had tons of leftovers after feeding the 4 of us! It turned out great. A little lopsided, not so perfect piping... but it was DELICIOUS! And I was so proud of it.

Carrot Cake
Two 9 inch round layers, two 8 inch square layers, or one 9x13 cake

Have ingredients at room temperature. Pre-heat oven to 350 degrees. Grease and flour your pans.

Whisk together thoroughly in large bowl:
1 1/3 cups all purpose flour
1 cup sugar
1 1/2 teaspoon baking soda
1 teaspoon baking powder
1 teaspoon ground cinnamon
1/2 teaspoon ground cloves
1/2 teaspoon grated/ground nutmeg
1/2 teaspoon ground all spice
1/2 teaspoon salt

Whisk together well in small bowl, then, using rubber spatula, stir into flour mixture until just combined:
2/3 vegetable/canola oil
3 large eggs..

Stir in:
1 1/2 cups shredded carrots
1 cup chopped walnuts
(1 cup golden raisins)
(1/2 cup canned crushed pineapple, lightly drained)

Scrape batter into the pans and spread evenly. Bake until fork comes out clean, 25-30 minutes in small pans, 30-35 minutes in large pan. Let cool on a rack.


Quick White Icing
Makes about 2 cups

Combine in a medium bowl and beat together on medium speed:
4 cups (1 pound) confectioners' sugar, sifted
1/2 cup (1 stick) unsalted butter, softened

Add and beat until smooth:
4-6 tablespoons milk or coffee
2 teaspoons vanilla
1/4 teaspoon salt

Icing should be spreadable, but firm enough to hold it's shape when piped. Add sugar/liquid to achieve correct consistancy. Keeps 3 days at room tempertaure, 3 weeks in fridge, 6 months in freezer. Spoon a little bit into a bowl and add some food coloring for piping.

Monday, December 5, 2011

Dinosaur Shirt


I saw a personalized dinosaur shirt in a catalog and thought it was the cutest thing! But $40 for a tiny shirt?! Get outta here! So I was browsing the shirt-making aisle and my son found these iron-on dinosaur patches (he has recently gotten into dinosaurs). And then it clicked! I was already planning on making some grandparents shirts, why couldn't I make a little dinosaur shirt. Well, the disappointment came... I didn't have enough letters after my grandparents shirts to make my dinosaur shirt. Drat! But I had learned this freezer paper and painting technique.
Type out what you want on the shirt. I used my sons name and the year he was born. I think discovered is dinosaur-y.
Place freezer paper over the print out, and trace the outlines of the letters.
Cut out the letters with a razor. The letters can be disarded, that's where you'll be painting. But the little spaces inside the letters (Like in the A's, R's, O's, etc), keep those so you can iron them onto the shirt along with the cut out.
Place the now stenciled paper onto the shirt. I placed the dino patch on too, just to visualize. But I ironed that on after I painted. Iron the paper down, paying special attention to the edges. You want the edges down so the paint won't seep under the paper. Press the fabric paint onto the letters. Do 2 coats. I was a little anxious to get this project done. Maybe the paint wasn't dry enough, so I ended up with some not-so-crisp edges. But it worked for me. It's a dinosaur shirt!

DIY Grandparents Shirts

I really wanted to get my parents shirts with their grandkids on them; be it name or picture. I went to a website that had personalization options to add grandkids' names and/or picture. But not only did it end up being a lot of work to get the right picture (you had to have the perfect shot of just their face... and many of my shots are at home, with toys and other kids in the backround), but it was $20 per shirt PLUS shipping. I think the only color was white and I didn't care too much for the designs (options were limited!).

I decided to buy plain shirts ($3.99 a piece) and iron-on letters ($1.99 per sheet). I copied the cute phrase from the previous website "2 Reasons I Love Being a Grandpa" but couldn't find any cute little boy iron-on pictures. I remembered a website I came across recently for skeleton Halloween costumes, found here. I then decided to attempt to create my own little boy stick figures and put them on the shirt. My creation follows....
I got shirts and iron-on lettersfrom the craft store. We have Hobby Lobby, but sometimes I really miss having a Michaels's! And if you really want to cut down on costs, you can use 40% off coupons to make this project even cheaper.
Arrange the letters on the shirts. I use a ruler as a guide to make sure the letters were centers and lines were equally spaced.
Once you have a row of letters right where you want them, press with a hot, dry iron (specific heat temp should be listed on the letters package, it's seems to always be high though).
Now it's time for the pictures. Since I couldn't find what I had in mind, I opted to design them myself. Freezer paper is drawable on the paper side, and irons on the shiny side. Found with saran wrap OR in sporting. I thought that was weird, but hunters use it for freezing meat I guess. Makes sense... I googled boy stick figure images and free-handed with a sharpie. Use something that leaves a thick line so when you cut the image out, there will be enough space for the paint to make a definite line. Wherever I made a blue line, I will cut out and will paint. Does that make sense?
OK I didn't realize how overly ambitious my cute little stick figure boys were. With the pockets, fingers, extra details of lines here and there, ugh. But still very do-able. Keep all those pieces that get cut out, you'll need them to re-create your image.
Iron the outline image on first. Position exactly where you want it and press with a hot, dry iron. Make sure the edges are pressed down. You want nice, crisp paint lines. Now place those cut out pieces back into the picture; shorts, shirt, hat, face, etc. Whatever you cut out that will re-create what you first drew. I did them one at a time to make sure they were properly placed.
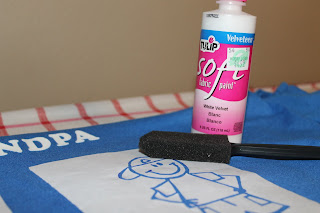
Now it's time to paint. I got textured fabric paint, I didn't know what "textured" meant, but it was the only kind. The skeleton costume website says to use a brush with stiff bristles, so that can be used too. I didn't have one and I didn't want to pay $4 for a whole pack. I had a pack of foam brushed from the dollar store from when we painted our house, and that seemed to work out just fine.
Slide some cardboard under your images, the paint will soak through a bit. Press the paint down, don't do strokes. You don't want any paint to seep under the paper. Do 2 coats. Peel the paper off. You can use your razor to help lift up the edges of the paper. Turn it inside out and slide it oover the ironing board (just the front of the shirt that has the images should be on the board). Quickly press the painted images. The paint may seep through a bit more. This helps seal the paint and puffs the paint up. Ah ha! *lightbulb* "Textured" paint! Now I get it! I love the effect this gives the paint.
I made one for Grandma too. There were some spots here and there that seeped under the paper, or paint peeled up with the paper. I just touched up as needed and it looks great! Exactly what I envisioned! Aside from the paint, which I will use in many more future projects, this project costed me about $8 per shirt. If I would have used my 40% off coupons, I would have saved more money! Or you can print these out off of the computer, trace onto freezer paper, and cut the letters out. My kids' names required lots of E's, A's and N's, so you may need more or less sheets of letters depending on your names. But there you have it, 2 personalized, handmade Christmas gifts.