Monday, September 24, 2012

Spider-Man Cake and Birthday


Ethan is 4! And he picked Spider-Man theme about 3 months ago :) I made a double layaer white cake with strawberry filling (his favorite fruit!) and strawberry ice cream. I made the quick icing and added food coloring for icing and piping. I got the figurine from the Dollar Tree!


Made a banner (of course!)
 
3 handsome masked boys!
 
Happy Birthday Spider-Ethan
 

Thursday, July 12, 2012

Photo Alphabet


This has been a project in the making for months! I saw it in a Costco Connection magazine. I bought alaphabet stencils and traced them onto poster board. I picked photos that would be a good display through the letters (the space needle, the gateway arch, scenic photos from our vacations, etc). I used a craft blade (like an Xacto knife) to cut out the letters and backed each letter with a different photo.

Sunday, July 8, 2012

Chick-fil-A Shirt

 
Chick-fil-A had a Cow Appreciation day coming up. Anyone can come in wearing their best cow attire and receive a free chicken sandwich. If you come in dressed from head to toe in cow pride, you get a free meal!

My youngest son fell in love with cows when my husband first started at Chick-fil-A. So I made him a cow shirt, seen here. We always like to participate in fun activites, especially when something FREE is involved! So I needed to make a cow shirt for my older son. Same technique, fabric paint and freezer paper. The tutorial is found here.

I created a template in Word. I tried to find a font that looked similar to the Chick-fil-A signs. The font I used was Half Darm BTN. For the heart, I used webdings (shift and y). I used white fabric paint for the lettering. For some reason, Hobby Lobby was out of red fabric paint. So I used the puff paints and spread it out with a paint brush. It was a little harder to remove the freezer paper. I used my blade to gently cut the paper away. I would definitely recommend fabric paint though, I didn't like how it turned out as much.

 
I painted little cow spots on the boys' faces. Too cute! Next year I am going to get white shorts and shirts and do them up in full cow suits, with a tail :)

Saturday, June 9, 2012

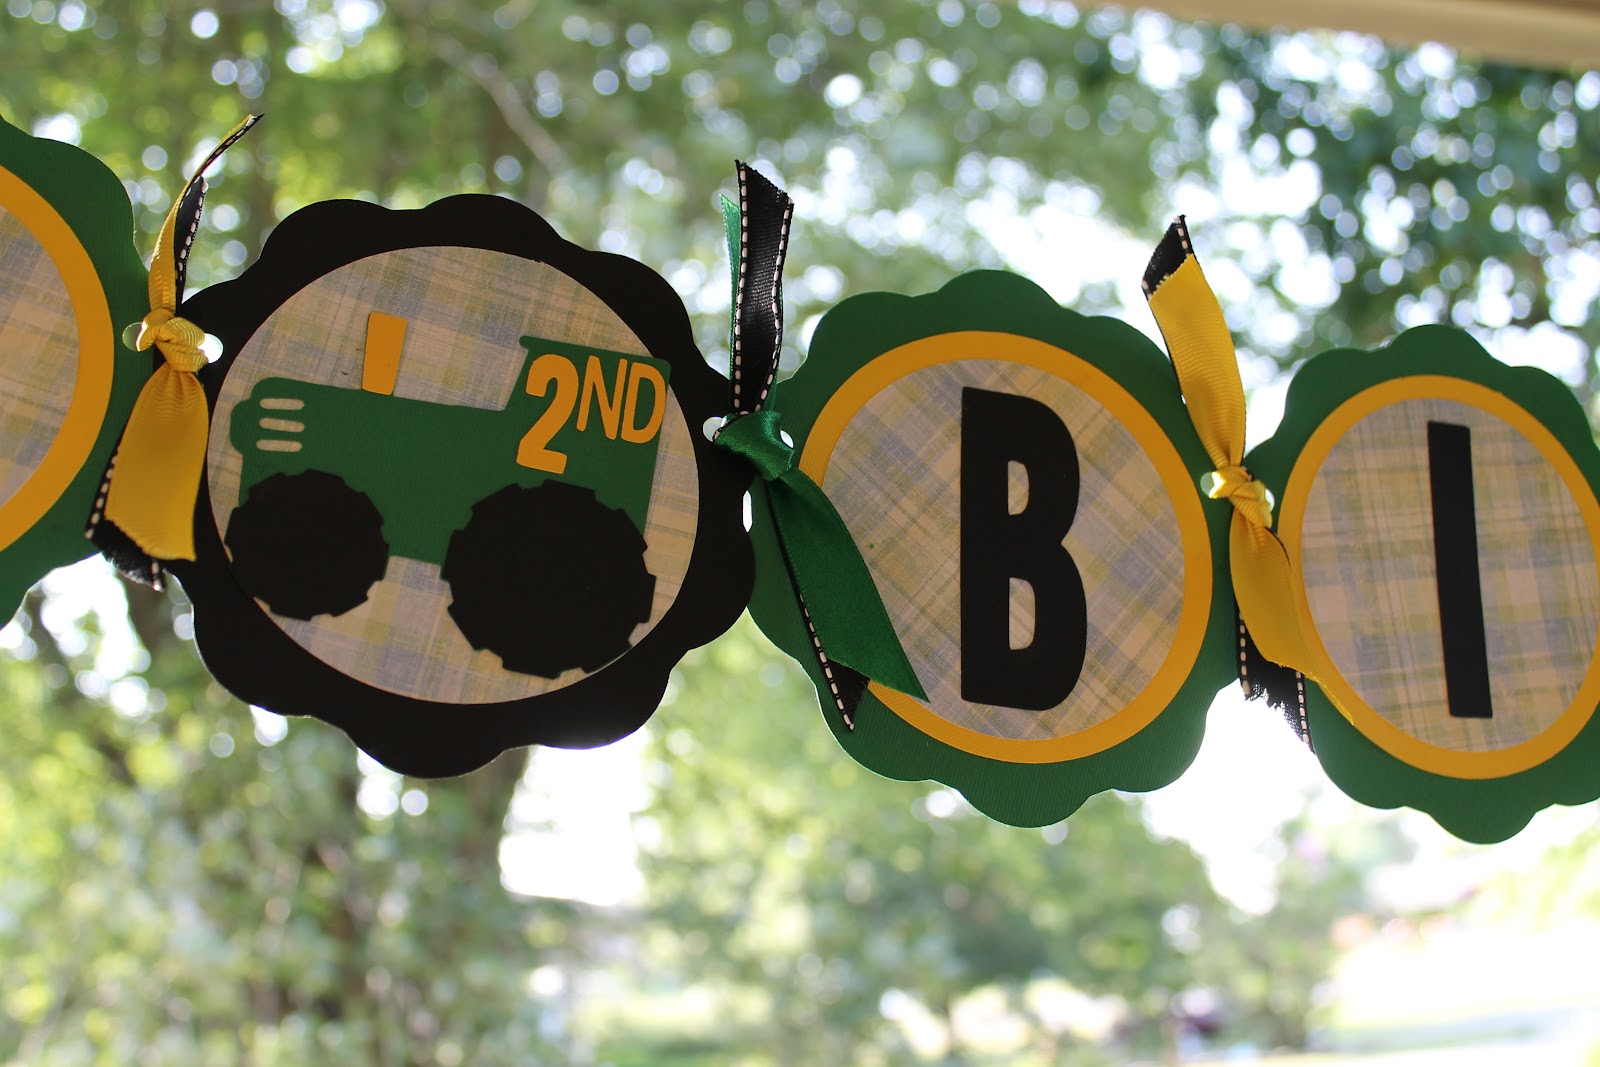
John Deere Themed Birthday Banner


I finally put my Cricut to good use! My sister-in-law always finds the cutest personalized things for her son. Last year, he had an Elmo birthday party. And when I saw the decorations, I thought to my crafty-self, "I could so make that!" She told me they were hand made and bought on etsy.com. I got a Cricut for my birthday (Yay!) and couldn't wait to make something. With only a few weeks until Euan's second birthday, I still hadn't thought of a theme! During a play date at the park, a lawn mower went by and Euan got so excited. He loves lawn mowers! He likes to ride on them with daddy, or have daddy hook up the trailer or wagon and ride around. And it clicked! John Deere birthday! I fould a cartridge for the Cricut on eBay, got themed paper and ribbon on sale at Hobby Lobby and I was ready. Everything turned out absolutely adorable! I think I am going to start my own esty.com business :)
 
(And I did! My Handmade Workshop. Find it here)


Happy Birthday Euan!


Double Layer John Deere Cake


Double layer cake in John Deere colors! Right before I poured the batter into the layer pans, I separated them into 2 bowls and added green to one bowl and yellow to the other. Filled with chocolate icing. It had been at room temp. for a while, and the green icing had a little too much butter... so the cake looks like it's melting! Oops! But it still tasted yummy and was so festive. Loved it!

You can see the top of the cake here.

John Deere Birthday Cake


Euan had a John Deere themed birthday for his 2nd birthday. I bought a cake topper set off eBay for $9. It's an actual John Deere tractor rolling toy, which was a bonus! Except, I later bought Euan a couple of John Deere sets and probably could have used those for the cake. Oh well.... the trees and fence added something to the cake!

I made the 4 Yolk Gold double layer cake recipe from the Joy of Cooking cookbook. Before I filled the layer pans, I divided the batter into 2 bowls and colored one with green dye and the other with yellow dye. You can see what the inside looks like here.

I was going to filled with the whipped ganache recipe, but didn't realize that it needed to be refrigerated for several hours, and the party was later that night! So I used store bought whipped chocolate icing for the filling and the "dirt".  The rest of the cake is iced with the Quick Icing recipe, dyed green for the grass and border, and yellow of the font piping. I used a little bit too much butter in the green icing. The result was a more runny icing... BOO! It still tasted delicious!

Tuesday, April 10, 2012

Newspaper Seed Starters

I saw this and thought it was an awesome and cheap way to start seeds. I have SO MANY newspaper from couponing and thought this was a cool way to re-use them. Although, it only used like 4 sheets :) It will break down in the garden when transplanted.

Here is the tutorial I followed: http://www.instructables.com/id/Biodegradable-Seed-Starters-From-Newspaper-anothe/

I used old cereal boxes to hold the starters and lined with saran wrap to try and keep the cardboard from getting wet. (I was being super cheap, this was a free starter!). I see some moldy spots... yikes! But just on the paper, so not too worried about it. I think I would try a waterproof container next time, just didn't have anything lying around that would fit on my window sill.

The tomatoes did great! Basil did well, as well as some of the other herbs. Some didn't germinate at all. I did have Ethan plant the seeds :) So I will do another starter set soon.

I want to try making seed blocks next time. No need for paper=no mold. I can get the plastic clam shells from my husband's work (hopefully!). Here's where to find that tutorial: http://www.instructables.com/id/Make-Super-Cheap-Seed-Starters/http://www.swagbucks.com/?t=w&q=&p=1&b=1